There is something transformative about getting ready for a night out. The music goes up, the outfit comes together, and then there is the makeup. While a natural glow is perfect for brunch, evening events call for something with a bit more impact. A bold eye look commands attention, boosts confidence, and serves as the ultimate accessory to any ensemble.
Mastering a dramatic eye can feel intimidating if you are used to neutrals, but it is actually less about precision and more about layering. Whether you want to channel old Hollywood glamour with a classic smokey eye or experiment with electric blues and metallics, the principles remain the same. It is about building intensity, blending seamlessly, and knowing where to add that final pop of light.
This guide breaks down the process of creating a show-stopping eye look that lasts from dinner to the dance floor. We will cover everything from essential prep steps to choosing the right textures, ensuring your artistry stays put all night long. Grab your brushes—it is time to get bold.
Prep Your Eyes for Long-Lasting Glam
The secret to eyeshadow that doesn’t crease, fade, or fallout halfway through the night lies in the preparation. Just as you wouldn’t paint a wall without primer, you shouldn’t apply bold pigments to a bare lid.
Start with a clean canvas. Use a gentle micellar water or cleanser to remove any residual oil or skincare from your eyelids. Oils are the enemy of longevity when it comes to powder products.
Next, apply an eyeshadow primer. While concealer is a popular alternative, a dedicated eye primer is formulated to grip pigment and intensify color payoff. If you have oily lids, opt for a matte-finish primer. For dry lids, a hydrating base works best. Apply a thin layer from the lash line up to the brow bone.
Finally, set your primer with a translucent powder or a bone-colored eyeshadow. This step is crucial for blendability. If the primer is too tacky, your darker shadows might stick in patches and become difficult to diffuse. A silky, set base allows your brushes to glide effortlessly.
Choose a Bold Color Palette
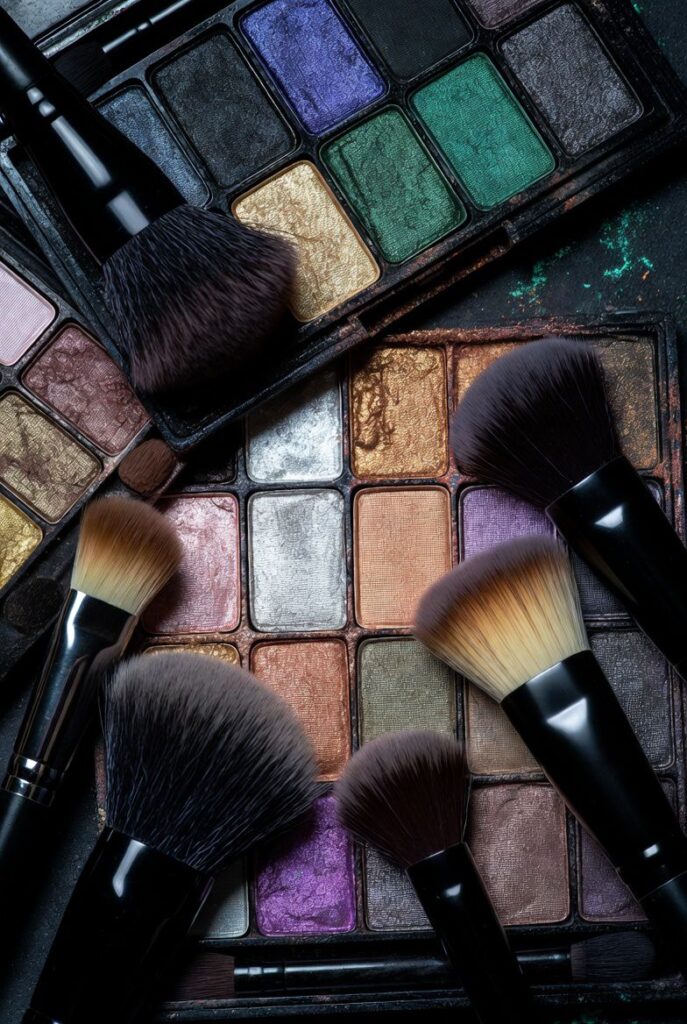
“Bold” doesn’t always mean black. The color spectrum is vast, and the best palette for you depends on your eye color, outfit, and personal vibe.
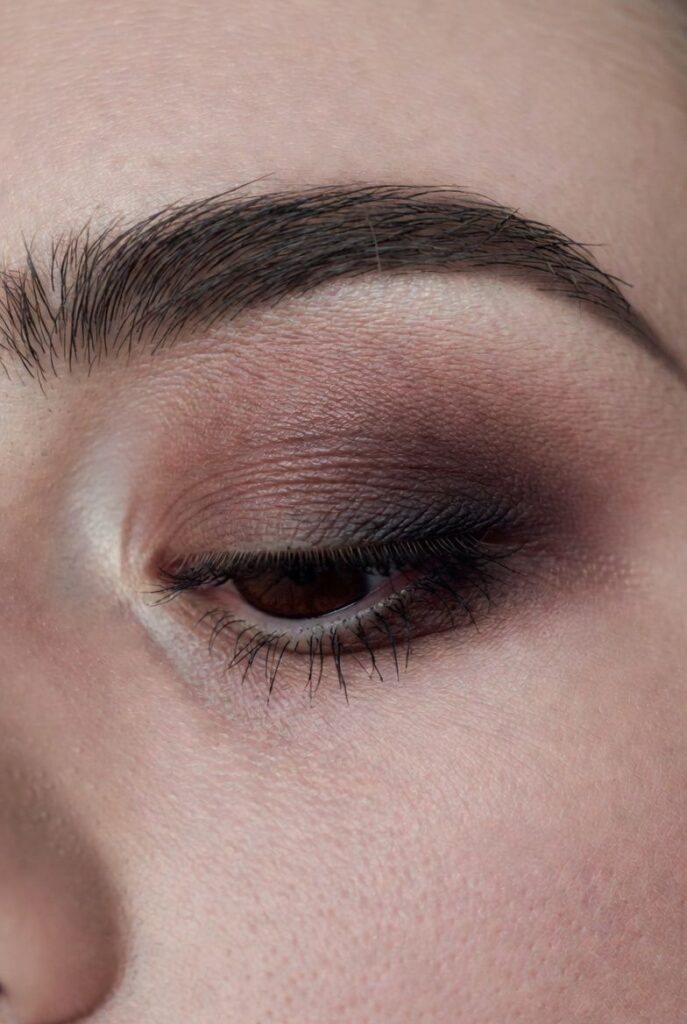
Classic Drama
For a timeless, sultry look, stick to matte blacks, charcoal grays, and cool-toned browns. This creates the quintessential smokey eye that adds depth and mystery.
Jewel Tones
If you want color without neon brightness, jewel tones are your best friend. Deep emerald greens, royal blues, and rich amethysts look incredibly sophisticated. These shades pop beautifully against brown and hazel eyes.
Warm Metallics
Coppers, bronzes, and golds are universally flattering and add an instant “expensive” feel to the look. They reflect light beautifully in dim evening settings.
Vibrant Hues
Feeling adventurous? Electric blue, hot pink, or sunset orange can make a massive statement. When working with these colors, ensure you have a transition shade that bridges the gap between the vibrant color and your skin tone.
Build Intensity with Layered Eyeshadow
Creating dimension requires a gradient of color. You cannot simply slap the darkest shade all over the lid and call it a day; that creates a flat, heavy appearance. Instead, work in layers.
The Transition Shade
Start with a matte shade that is two to three shades deeper than your skin tone. Using a fluffy blending brush, sweep this color into and slightly above your natural crease using windshield wiper motions. This shade acts as a buffer, ensuring the darker colors fade seamlessly into your skin rather than leaving harsh lines.
Deep Crease Definition
Switch to a smaller, more tapered blending brush and pick up a darker shade. Focus this color strictly in the outer “V” of your eye (the outer corner of the eyelid and the crease). This adds depth and elongates the eye shape. Blend this into your transition shade, but keep it lower to maintain the gradient.
Lid Focus
This is where the boldest color goes. Whether it’s a matte black or a shimmer, pack it onto the mobile lid (the part that moves when you blink) using a flat shader brush. Pressing or patting the color on yields better payoff than sweeping it.
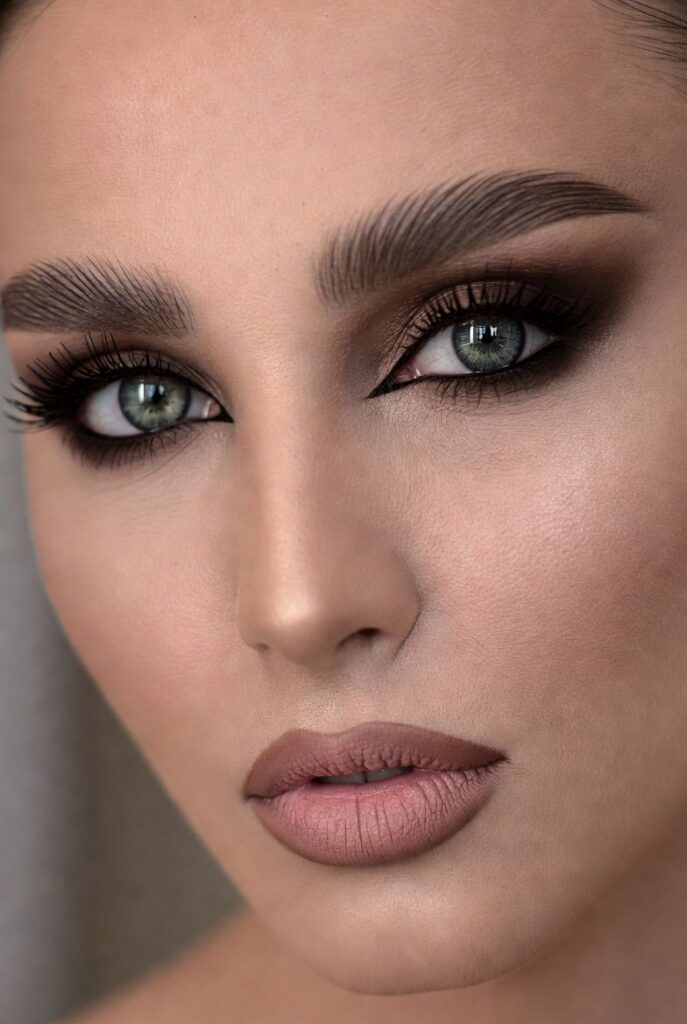
Create a Statement Smokey Eye
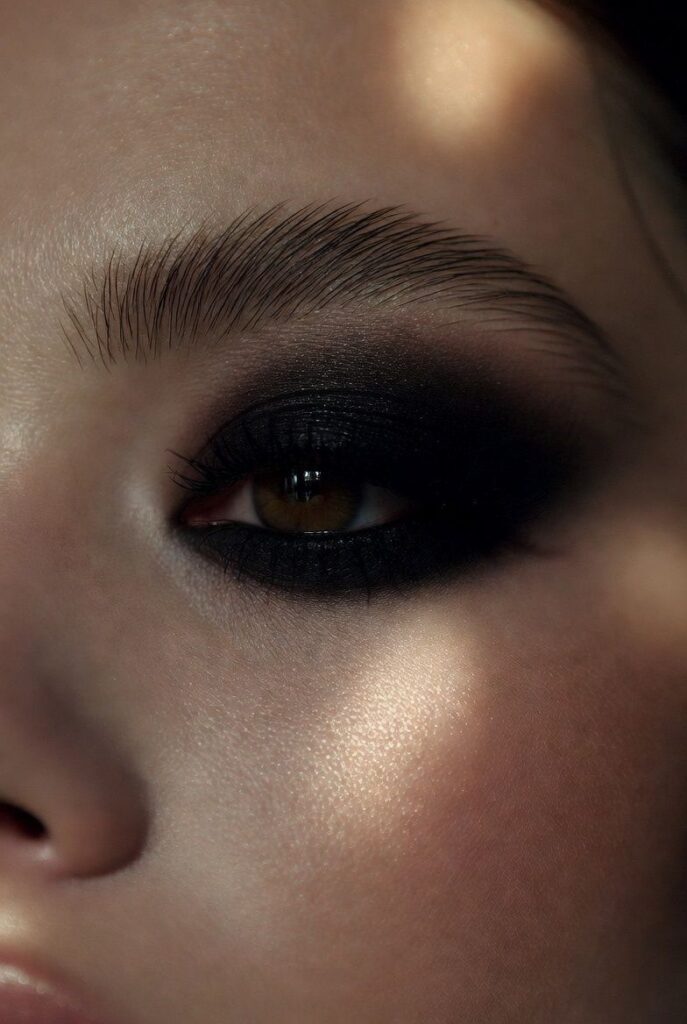
The smokey eye is the little black dress of makeup—it never goes out of style. The key to nailing this technique is the blend.
If you are using dark colors like black or navy, apply the shadow close to the lash line first. Slowly blend it upwards toward the crease. The color should be most intense at the lash line and gradually fade as it moves up.
Do not neglect the lower lash line. A bold top lid with a bare bottom lash line can look unbalanced. Use a pencil brush to smudge your mid-tone or dark shadow along the lower lashes, connecting it to the outer corner of the top lid for a cohesive wrap-around effect.
Add Drama with Metallic or Glitter Accents
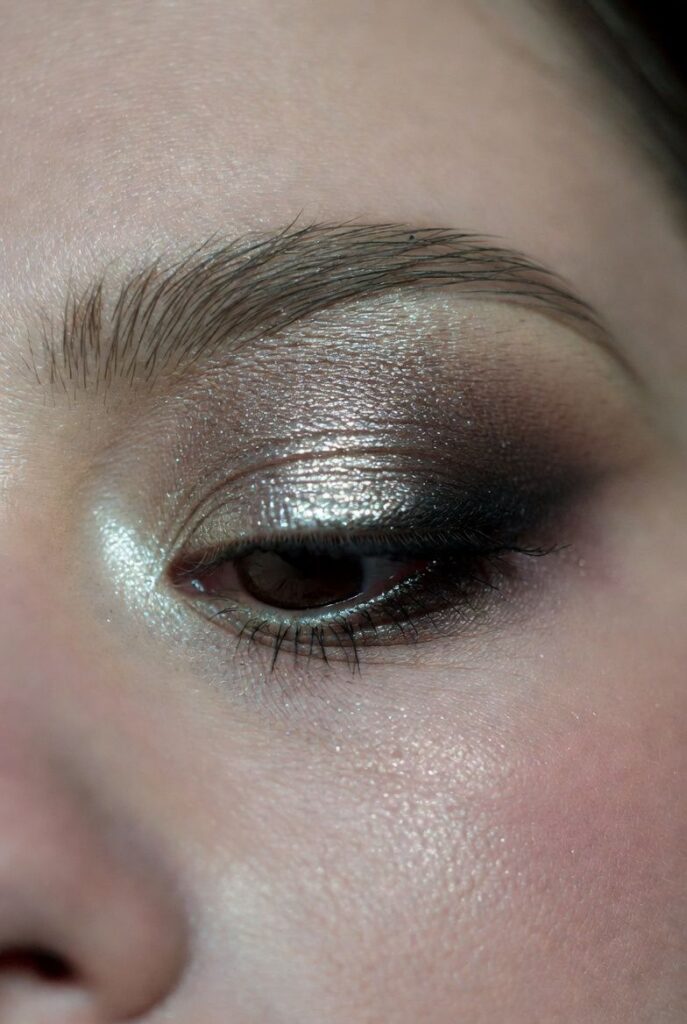
Texture elevates a look from “nice” to “professional.” Once your matte structure is in place, creating a focal point with shimmer brings the eyes to life.
- Shimmers: Apply a satin or shimmer shade to the center of the lid to create a “halo” effect. This draws light to the middle of the eye, making it look rounder and more awake.
- Foils: For a wet-look finish, metallic foils are unbeatable. These often work best when applied with a finger, as the warmth of your skin melts the product into the lid.
- Pressed Glitters: If you are going for maximum sparkle, press a cosmetic-grade glitter over a glitter glue base. Keep this focused on the center or inner third of the lid to avoid it looking messy.
Define the Eyes with Bold Eyeliner
Shadow provides the smoke, but liner provides the frame.
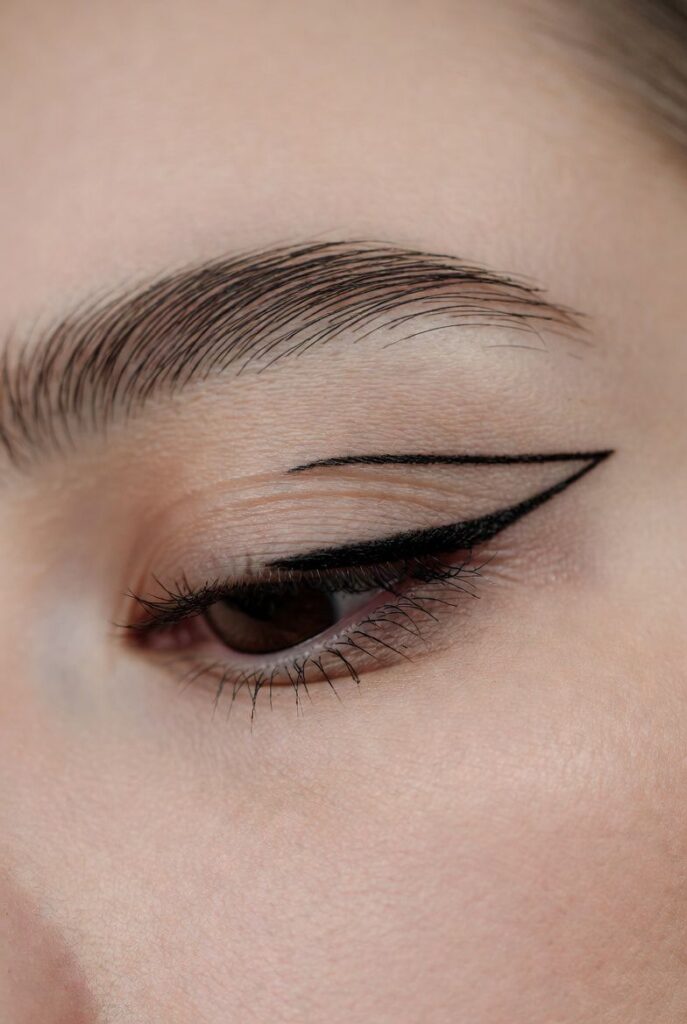
Winged Liner
A sharp, black liquid liner adds a feline lift to the eye. For a bold night-out look, don’t be afraid to extend the wing further than you would for daytime wear.
Smudged Kohl
If sharp lines feel too severe, use a soft kohl pencil in black or dark brown. Run it along the upper lash line and smudge it out with a small brush for a grunge-glam aesthetic.
Tightlining
This is a game-changer for bold looks. Use a waterproof black pencil to line the upper waterline (the rim of skin under your upper lashes). It makes your lashes look twice as thick and eliminates any gaps of skin peeking through your dark eyeshadow.
Amp Up the Lashes
Your natural lashes can easily get lost against a backdrop of dark heavy eyeshadow. You need volume and length to ensure they stand out.
Start by curling your lashes and applying two generous coats of a volumizing mascara. For many, this is enough. However, for a truly bold look, false lashes are the cherry on top.
- Strip Lashes: These provide uniform volume across the entire lash line.
- Lash Clusters: For a more customizable look, apply individual clusters to the outer corners. This enhances the cat-eye effect without feeling as heavy as a full strip.
Highlight Inner Corners & Brow Bone
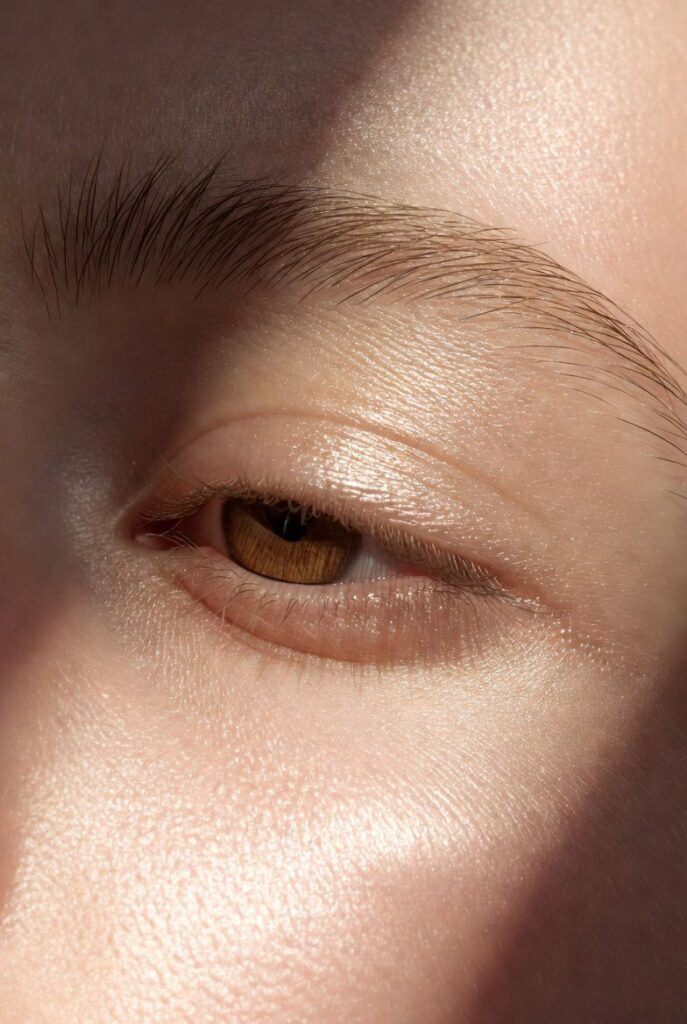
When you use a lot of dark colors, the eyes can sometimes look smaller or “closed off.” Highlighting brings the light back in.
Take a small pencil brush and apply a light, shimmering champagne, gold, or silver shade to the inner teardrop corner of the eye. This instantly brightens the face. Add a subtle touch of the same highlighter just beneath the arch of your eyebrow to lift the brow bone and clean up the edges of your eyeshadow blend.
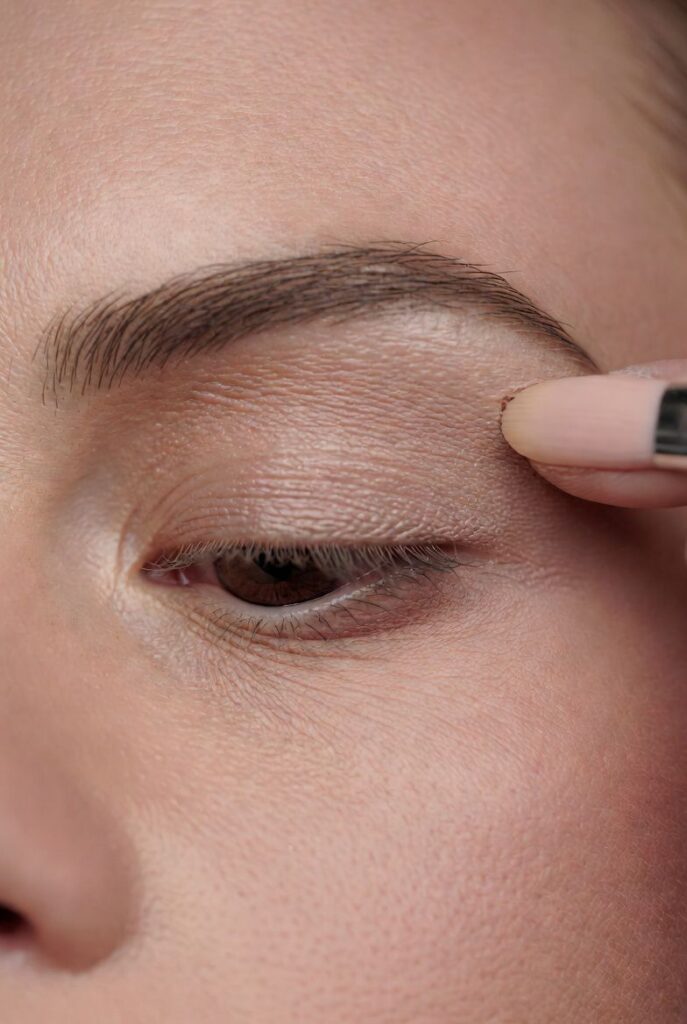
Balance the Look with Clean Brows & Skin
A bold eye demands a polished frame. If your brows are messy, they can detract from the artistry of the eyeshadow. Fill in any sparse areas with a brow pencil or powder, and set them in place with a clear or tinted brow gel.
For the rest of the face, keep the complexion fresh. Because the eyes are heavy, you might want to avoid an overly heavy contour. A soft bronzer and a nude or dusty rose lip usually complement a bold eye perfectly, preventing the makeup from looking like a costume.
Lock It In for the Night
You have put in the effort; now make sure it stays.
Once your makeup is complete, mist your face with a long-lasting setting spray. This melts the powders into the skin and creates a seal against sweat and humidity.
Pro Tip: Carry a few essentials in your clutch for touch-ups. A cotton swab is great for cleaning up any smudge under the eyes, and a mini lash glue is a lifesaver if a corner of your false lash lifts.
Frequently Asked Questions
What if I make a mistake with dark eyeshadow?
Don’t panic! Do not try to wipe it with your finger, as this will smear the pigment. Instead, take a clean, fluffy brush and blend the edges. If fallout lands on your cheek, use a large fluffy brush to flick it away lightly, or use a piece of tape to lift the glitter without disturbing your foundation.
Can I do a bold eye if I have hooded eyes?
Absolutely. The key is to apply your crease color slightly above your natural crease so that it is visible when your eyes are open. Focus on matte shades to create depth and avoid bringing shimmers too high up, as this can make the hood appear more prominent.
Should I do my eyes or foundation first?
For bold looks, especially those involving black shadow or glitter, it is highly recommended to do your eyes first. This way, you can easily clean up any fallout on your cheeks before applying your foundation and concealer, ensuring a flawless base.
Step Into the Night with Confidence
Creating a bold eye makeup look is an art form, but it is one that anyone can master with a little patience and the right tools. It is about experimenting with contrast, embracing dark tones, and finding the balance between shadow and light.
So, the next time you are heading out, dare to reach for that darker palette. Blend a little longer, add that extra coat of mascara, and wear your look with the confidence it deserves. The night is yours—make sure all eyes are on you.
