Dark brown eyes are incredibly versatile, acting as a neutral canvas that can handle a wide range of colors. Whether you want a subtle everyday look or a dramatic evening style, learning the right techniques can make your eyes the star of the show. This tutorial will guide you through creating a stunning look, from simple daytime glam to a bold night-out statement.
We will cover the essential tools, products, and a step-by-step application process to enhance the natural depth and richness of dark brown eyes. You’ll also find tips for customizing the look based on your skin tone and eye shape, ensuring your makeup is as unique as you are.
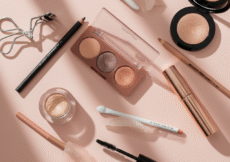
What You’ll Need: Tools and Products
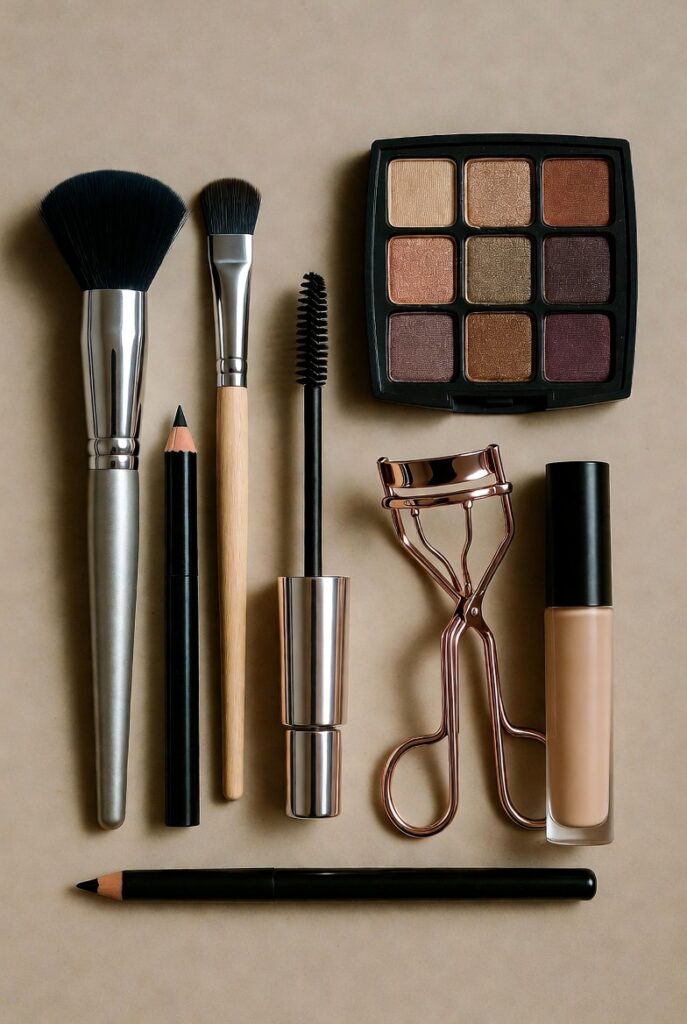
Before we begin, let’s gather the essentials. Having the right tools and products on hand will make the application process much smoother and give you a more polished result.
Brushes
- Blending Brush: A fluffy brush is essential for creating soft, seamless gradients in your crease.
- Flat Shader Brush: This is perfect for packing shimmer or metallic shadows onto your eyelid with intensity.
- Pencil Brush: A small, dense brush used for precise application on the lower lash line or in the outer corner.
- Angled Liner Brush: Ideal for creating a sharp, clean winged eyeliner with gel or powder products.
Products
- Eye Primer: This creates a smooth base, prevents creasing, and helps your eyeshadow colors appear more vibrant. A thin layer of concealer can also work in a pinch.
- Eyeshadow Palette: Look for a palette with a mix of finishes. You’ll need:
-
- A neutral matte transition shade.
- A deeper matte shade for the crease.
- A shimmer or metallic shade for the lid.
- A dark matte shade for the outer corner.
- Eyeliner: A black or dark brown pencil, gel, or liquid liner works well. Consider bronze or deep plum for a softer look.
- Mascara: Choose a formula that offers both volume and length.
- Optional Extras: False lashes, brow pencil, concealer for cleanup, and a setting spray.
Step 1: Prep the Eye Area
Proper preparation is the key to long-lasting, flawless eye makeup. Start with a clean canvas by cleansing your face and applying a light moisturizer around the eye area.
Next, apply a thin layer of eye primer across your entire eyelid, from the lash line up to the brow bone. This step is crucial because it evens out your skin tone, gives the eyeshadow something to grip, and prevents it from creasing throughout the day. If you have oily lids, you can lightly set the primer with a translucent or skin-toned powder to create an even smoother base.
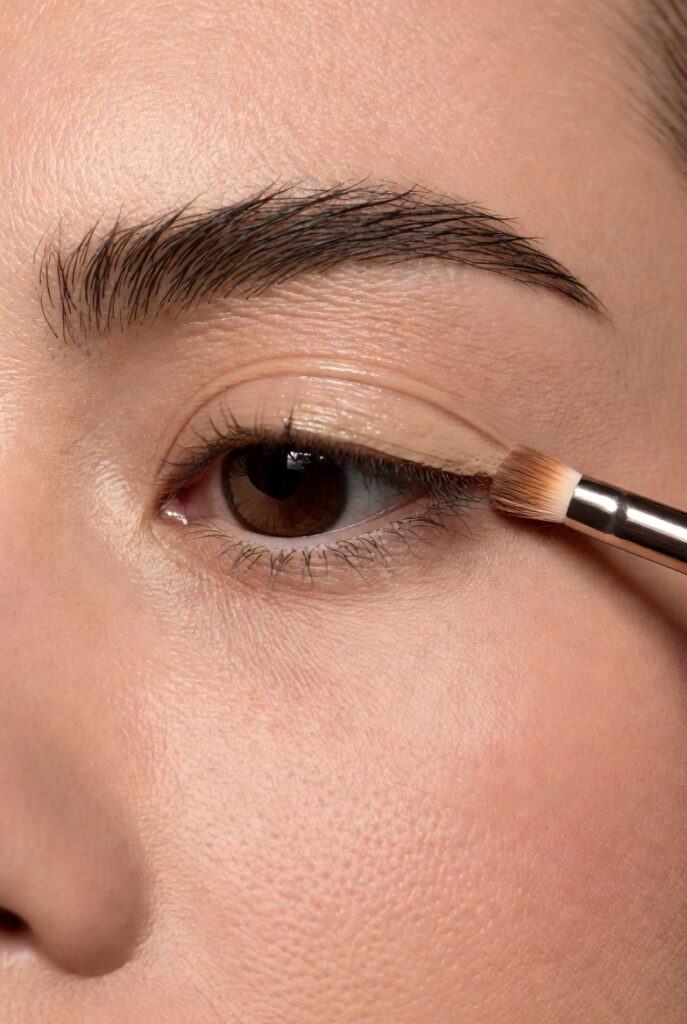
Step 2: Apply the Base and Transition Shade
![]()
The transition shade is the foundation of your eyeshadow look. It creates a soft gradient that bridges the gap between your lid color and your brow bone.
Using a fluffy blending brush, sweep a neutral matte eyeshadow through your crease. Use gentle “windshield-wiper” motions back and forth to build the color softly. This technique prevents harsh lines and ensures a beautifully blended finish.
Step 3: Define the Crease

To add depth and dimension, apply a slightly deeper matte shade to the outer third of your crease. Using a smaller, more tapered blending brush gives you more control and precision.
Focus the color on the outer corner and blend it slightly upward and outward. This creates a lifting effect that opens up the eye. Remember to blend thoroughly to avoid any harsh edges between the transition and crease colors.
Step 4: Add Color to the Lid

This is where you can get creative and tailor the look to the occasion. Dark brown eyes are complemented by a variety of color families. Here are a few ideas:
- Warm and Sunny: For a daytime look, choose warm tones like gold, bronze, or rich copper. These colors bring out the warm flecks in dark brown eyes.
- Soft and Romantic: Mauve, plum, and rose-gold shades create a beautiful, soft-focus effect that is both romantic and modern.
- Dramatic and Bold: For a night out, don’t be afraid to use deep jewel tones like emerald green, sapphire blue, or a blackened plum. These rich colors create a stunning contrast.
Apply your chosen shimmer or metallic shade to the center of your eyelid using a flat shader brush. For maximum color payoff and a foiled effect, gently press the shadow onto the lid with your fingertip.
Step 5: Define the Outer V and Lower Lash Line

To add more dimension and a touch of smokiness, use the darkest matte shade from your palette to deepen the outer corner of your eye, often called the “outer V.” Use a small pencil brush to place the color precisely and then blend it gently into the crease shade.
Next, smudge a coordinating eyeshadow along your lower lash line using the same pencil brush. This balances the look and connects the top and bottom portions of your eye makeup, making your eyes appear larger.
Step 6: Apply Eyeliner
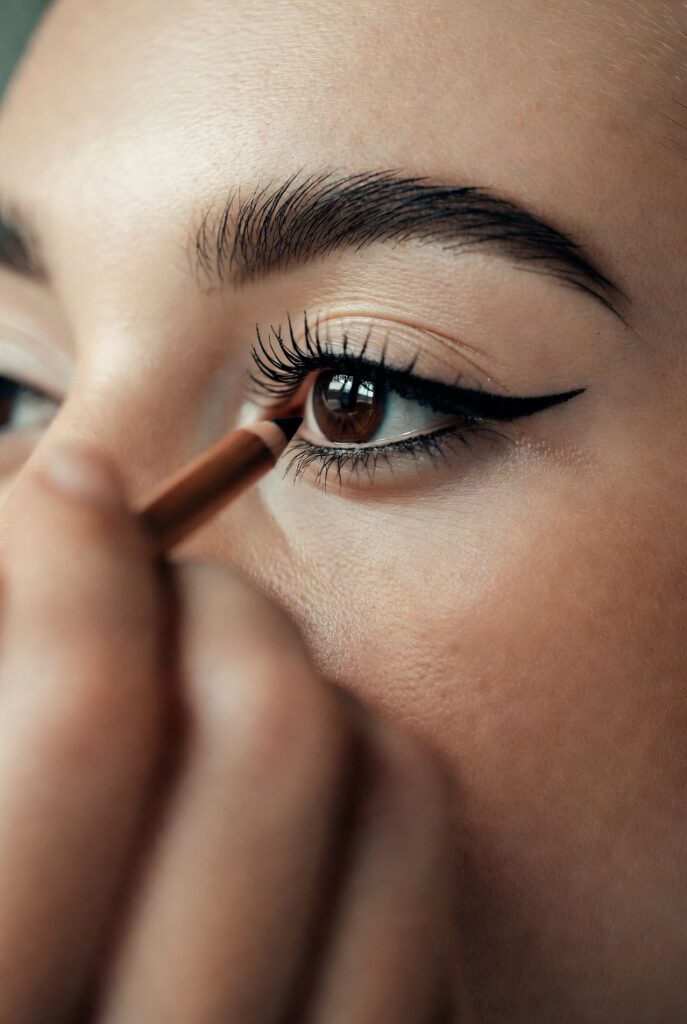
Eyeliner defines the shape of your eyes and makes your lash line appear fuller. For a subtle look, tightline your upper waterline by applying a pencil liner to the base of your upper lashes.
For a classic, glamorous feel, create a winged liner using a liquid or gel formula. If you prefer a smokier finish, use a kohl pencil and gently smudge it with your pencil brush. As an alternative to black, try a bronze or deep plum liner for a softer, more modern contrast against dark brown eyes.
Step 7: Perfect Your Lashes and Brows

No eye look is complete without beautifully framed lashes and brows. Start by curling your eyelashes to open up your eyes. Then, apply one or two coats of your favorite lengthening and volumizing mascara to both the top and bottom lashes. For extra drama, consider applying a pair of false lashes.
Next, shape and fill in your eyebrows with a pencil or powder. Well-defined brows act as a frame for your eyes, pulling the entire look together. Aim for a natural, polished finish.
Step 8: Clean Up and Add Highlights

To achieve a sharp, professional finish, clean up any eyeshadow fallout and sharpen the outer edge of your eyeshadow with a small amount of concealer on a flat brush.
Finally, add a touch of brightness by applying a light, shimmery eyeshadow or highlighter to the inner corner of your eye and just below the arch of your brow. This simple step makes your eyes look bigger, brighter, and more awake.
Step 9: Set Your Look
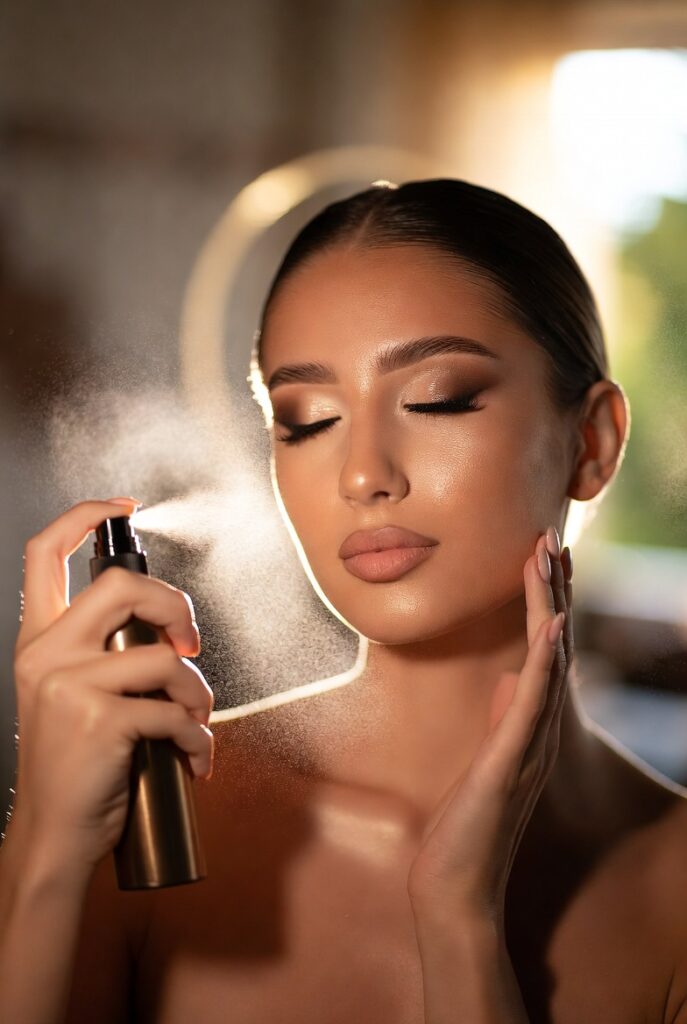
To ensure your masterpiece lasts all day or night, lightly dust a translucent powder around your eyes to set the concealer. Finish with a few spritzes of a makeup setting spray. Hold the bottle about eight inches from your face and mist lightly to lock everything in place.
Variations and Pro Tips

Once you master the basic technique, you can adapt it for any occasion.
- 5-Minute Everyday Look: Apply a single warm brown matte shadow all over the lid and blend it into the crease. Finish with a coat of mascara.
- Smoky Plum Evening Look: Use a deep plum shimmer on the lid, a blackened plum in the outer V, and finish with a sharp winged liner.
- Troubleshooting Fallout: If you get eyeshadow fallout on your foundation, use a clean, fluffy brush to gently sweep it away. For stubborn glitter, press a piece of sticky tape lightly against the skin to lift the particles.
- Tips for Different Eye Shapes: If you have hooded eyes, bring your crease color up slightly higher than your natural crease so it’s visible when your eyes are open.
Final Words
Creating a stunning makeup look for dark brown eyes is all about using the right techniques to enhance their natural beauty. By following these steps and experimenting with different color palettes, you can craft a look for any occasion that makes you feel confident and beautiful. The most important rule is to have fun and express your personal style.