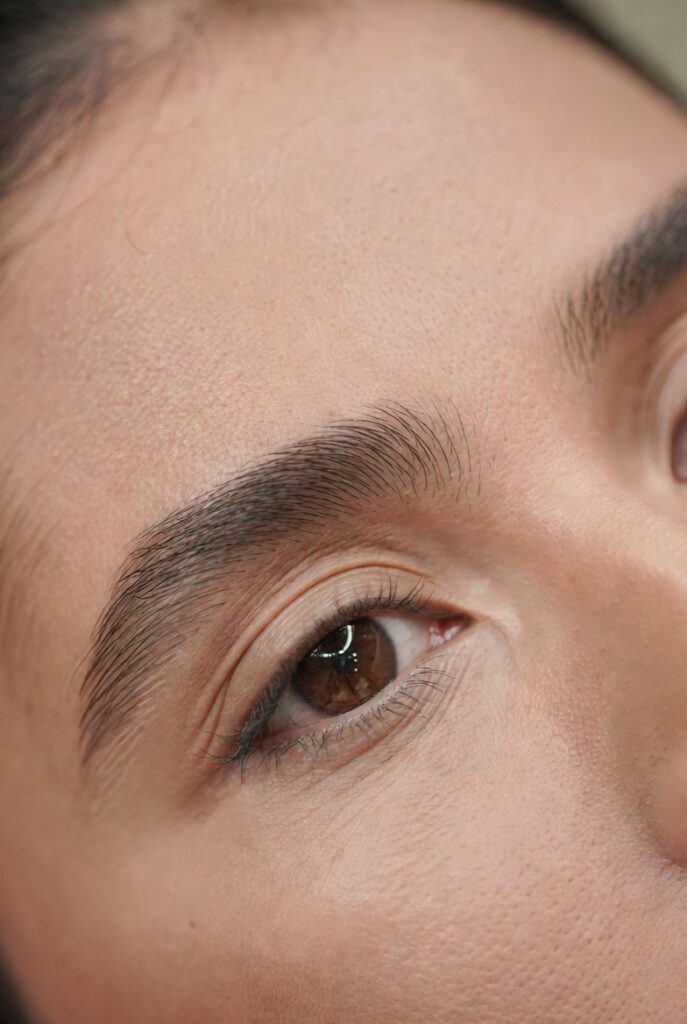
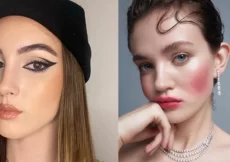
There is something undeniably sweet and soulful about downturned eyes. Icons like Anne Hathaway and Marilyn Monroe have sported this eye shape, proving just how captivating it can be. However, gravity isn’t always our friend. Depending on how you apply your products, this specific eye shape can sometimes appear sleepy or slightly sad, even when you are wide awake and energetic.
The goal isn’t to change your features completely but to enhance them using the power of optical illusion. By understanding angles and mastering the art of “lifting” with shadow and liner, you can open up your face and create a bright, alert appearance.
If you’ve been struggling to get your cat-eye to flick upward or feel like your eyeshadow always looks heavy, you might just be using techniques suited for a different eye shape. With a few strategic adjustments, you can defy gravity. Here is how to master the art of lifting downturned eyes.
Identify Your Downturned Eye Shape
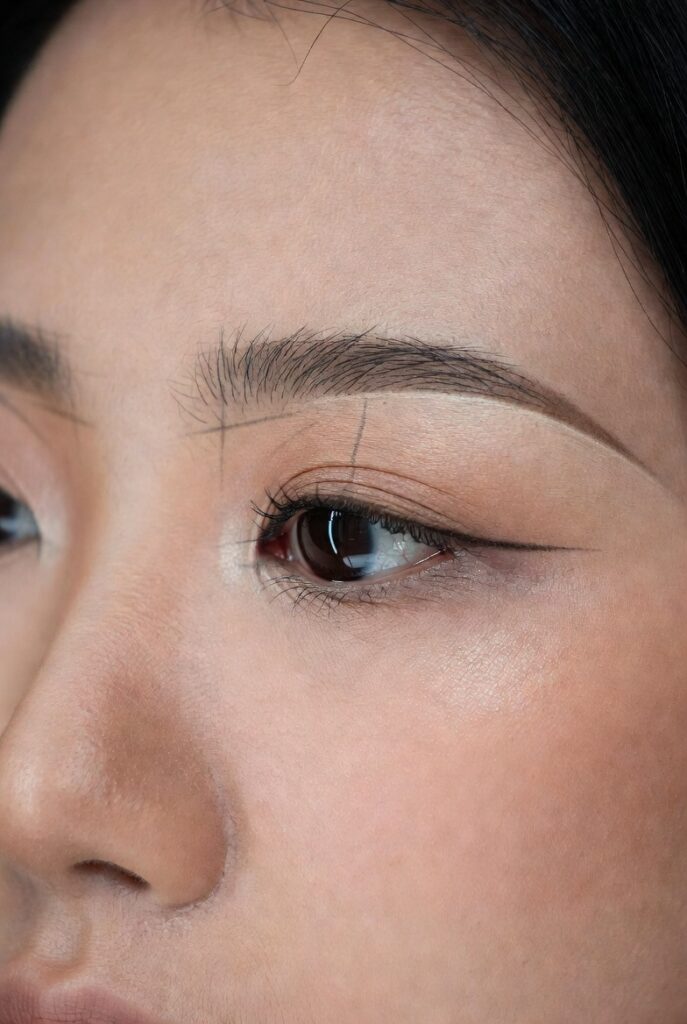
Before you dive into your makeup bag, it is helpful to confirm your specific eye shape. To do this, look straight into a mirror. Imagine a horizontal line running directly across the center of your pupil.
Look at the outer corners of your eyes. Do they sit above or below that invisible line? If the outer corners dip below the line, you likely have downturned eyes.
This shape is characterized by a slight droop at the outer edge, which can lengthen the upper lid but shorten the lower lash line. It is also quite common to have a combination of shapes. For instance, many people search for eye makeup for deep-set eyes and discover they actually have deep-set eyes with a downturned tilt. Understanding this angle is crucial because standard makeup advice—like following your natural lash line all the way to the end—can actually accentuate the droop rather than correct it.
Prepping the Eyelids for a Lifted Look
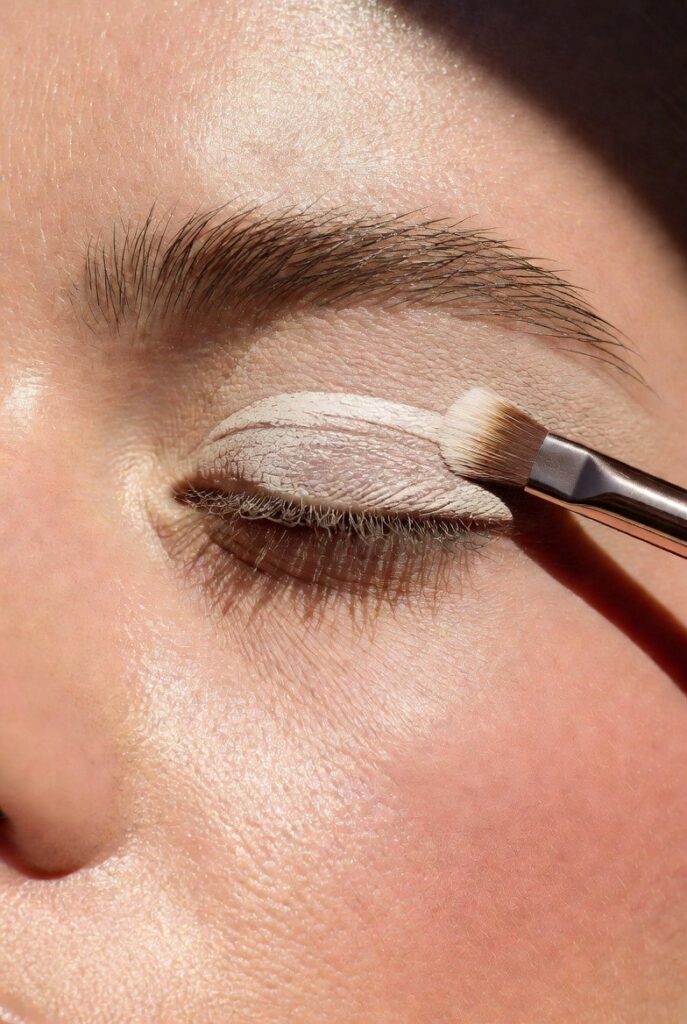
Great makeup starts with a great base. Because downturned eyes can sometimes have a bit more skin on the outer corner, eyeshadow has a tendency to smudge or transfer.
Start with a lightweight eyeshadow primer. This creates a smooth, grippy canvas that prevents your hard work from sliding downwards throughout the day. Once the primer is set, apply a neutral base shadow that matches your skin tone from the lash line up to the brow bone. This corrects any discoloration or veins and helps your subsequent colors blend seamlessly.
Finally, a light dusting of translucent setting powder can ensure everything stays matte and lifted. A bright, clean base instantly makes the eyes look more awake before you even touch a colored shadow.
Eyeshadow Placement for an Instant Lift
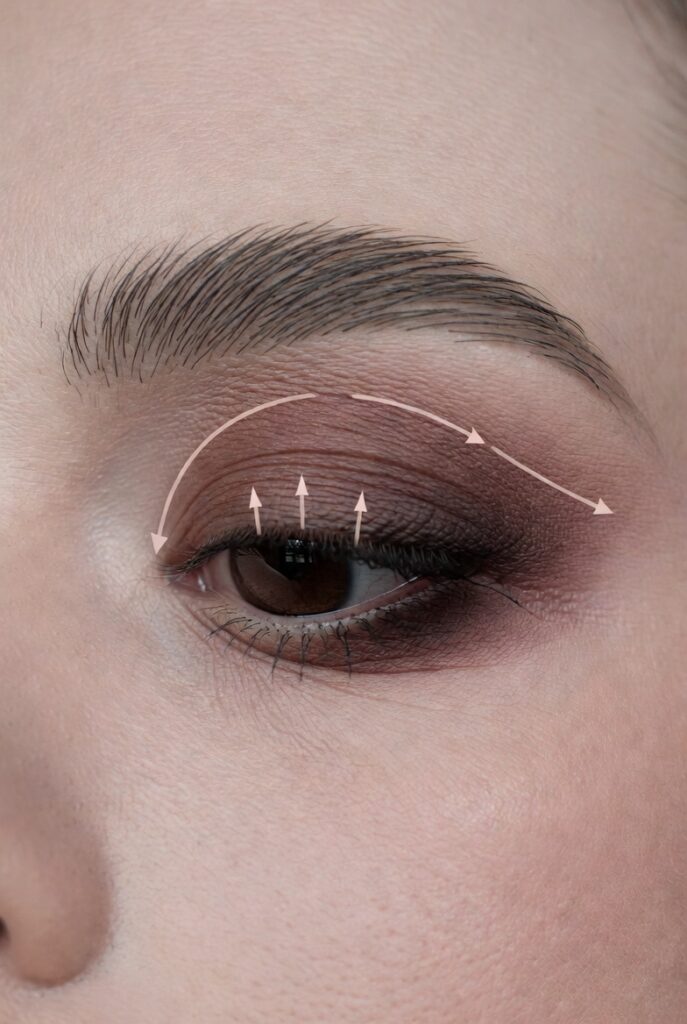
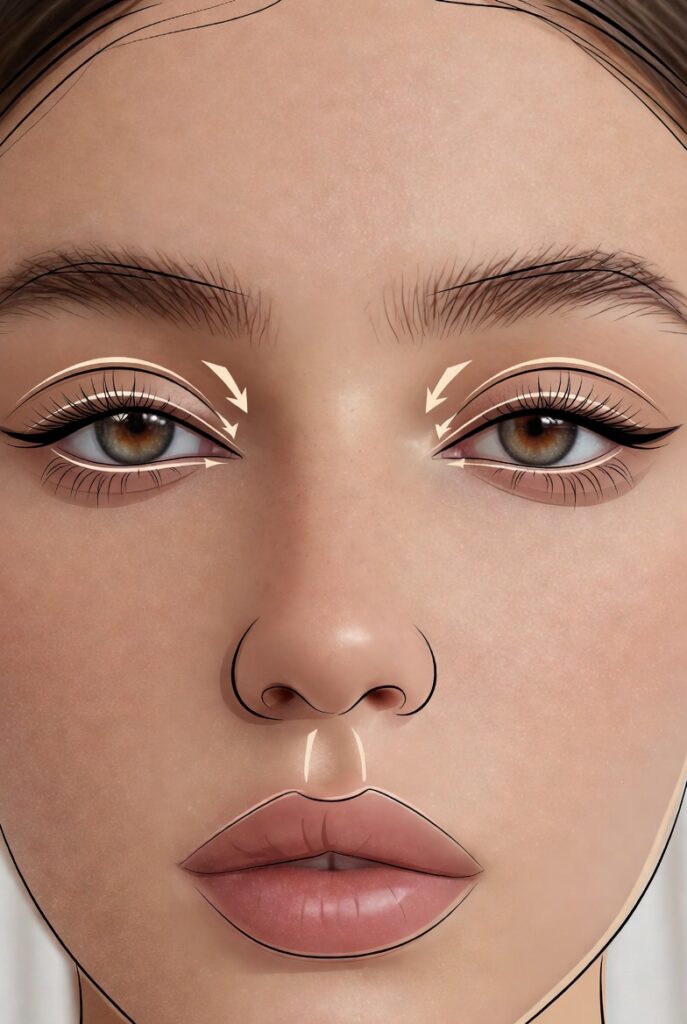
The golden rule for downturned eyes is simple: blend up, not out. Your eyeshadow placement should act as a scaffold that visually pulls the features upward toward the tail of your eyebrow.
Create a Soft Outer V
When applying your crease color or outer corner shade, stop blending before you reach the actual end of your lash line. If you follow the curve of your eye all the way down, you will drag the eye shape down with it.
Instead, imagine a line connecting your lower lash line to the end of your eyebrow. Use a medium matte shade to create a soft “V” shape at the outer corner, blending the pigment upward along that imaginary line. This artificial shadow creates the illusion that the eye sits higher on the face than it naturally does.
Use Gradient Techniques
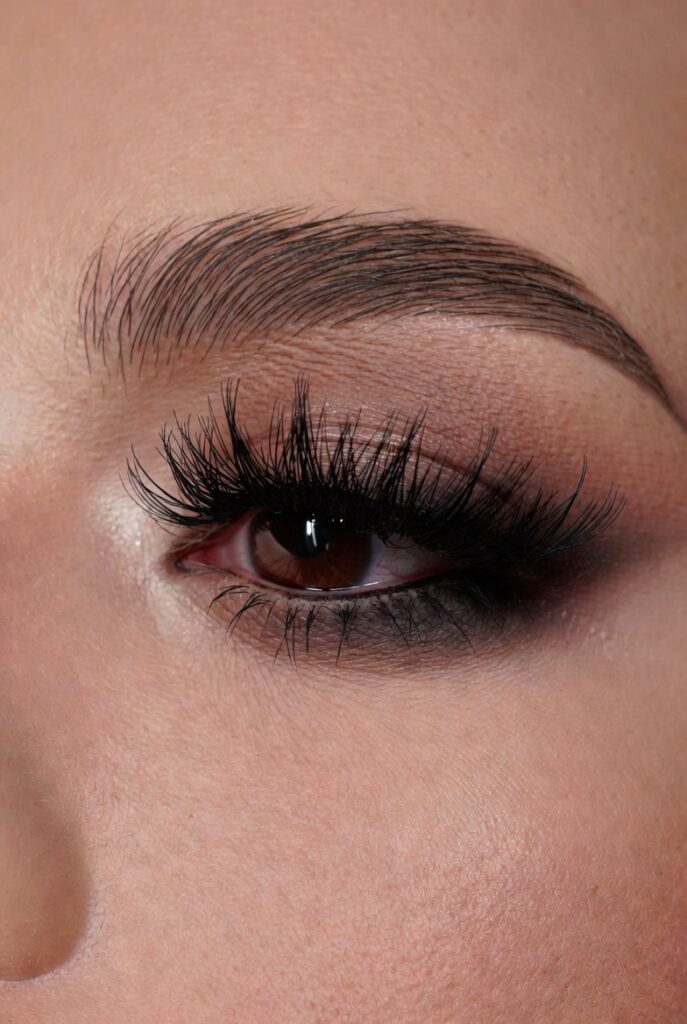
Gradient shading is your best friend. The transition of color guides the viewer’s eye. Keep the inner corner and the first half of the eyelid bright with light, shimmering, or satin shades. Place your medium transition shade in the center, and reserve your darkest shadows for the outermost corner.
Ensure that the darkest shadow angles upward. Think of it as a smoky eye that defies gravity. The contrast between the light inner lid and the lifted, dark outer corner pulls the focus diagonally up.
Avoid Heavy Lower-Lash Shadow
For many eye shapes, smoking out the lower lash line is a go-to move. for downturned eyes, however, heavy darkness underneath can be counterproductive. It adds weight to the part of the eye that already dips low.
Keep the bottom lash line clean and bright. If you feel incomplete without shadow there, use a soft, light-brown shade and apply it only to the outer third of the lower eye, connecting it up to your top shadow. Leave the rest of the lower lash line bare or use a nude liner to open it up.
Eyeliner Techniques That Lift

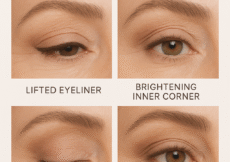
Eyeliner can make or break this look. The traditional “follow the lash line” advice is exactly what you want to avoid here.
Upturned “Mini Wing”
A classic cat-eye is perfect for lifting, but the placement needs to be precise. Start your liner very thin at the inner corner. As you move outward, stop the liner before you reach the very last lash.
The trick is to start your “flick” early. Instead of following the curve of the eye down, kick the liner out and up toward the end of your brow roughly two millimeters before the eye ends. This creates a new, lifted outer corner.
Tightlining for Definition
If you want definition without lid space getting heavy, try tightlining. This involves applying a waterproof gel liner to the upper waterline (the rim inside the lashes) rather than on top of the lid. This defines the lash line and makes lashes look thicker, providing intensity that lifts the eye without closing it off.
Avoid Downward Extensions
Never drag your liquid liner or pencil past the outer corner in a downward motion. It might feel natural to trace the whole eye, but this will visually pull the eye down. Similarly, avoid thick, heavy liner on the outer half of the lid unless it is winged upward. A thick, rounded line at the end of the eye adds visual heaviness.
Mascara Strategies to Lift the Eyes
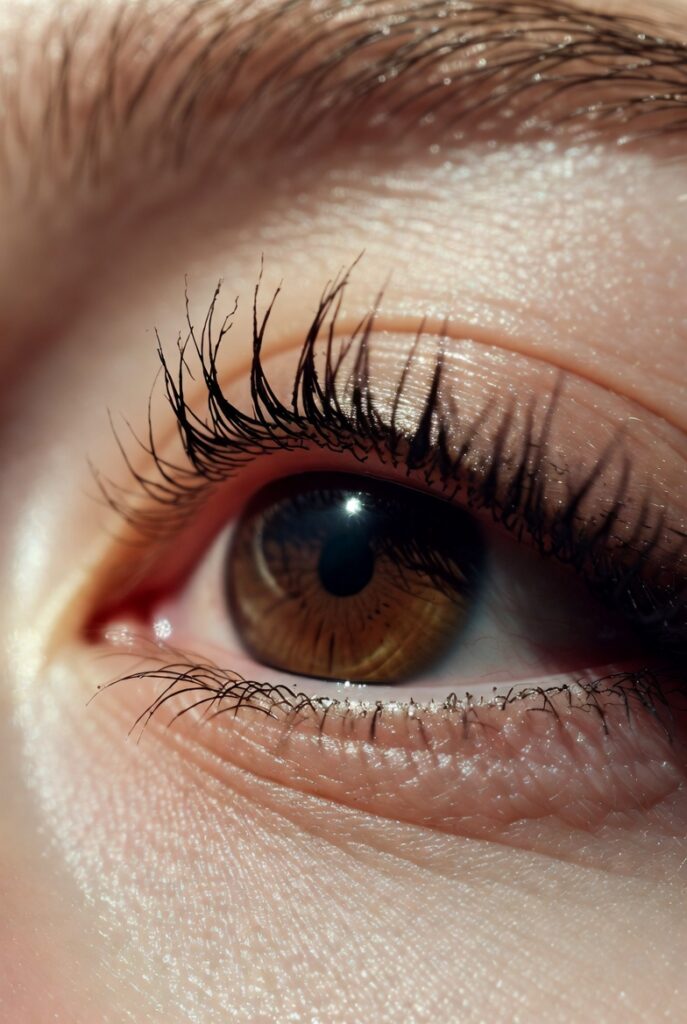
Your lashes are the curtains to the window of your soul—make sure they are tied back properly.
Curl your lashes before applying mascara. This is non-negotiable for downturned eyes. Focus the curler on the outer lashes specifically. When applying mascara, brush the lashes toward your nose for the inner corner, but brush the outer lashes toward your temple. This fans them out and up.
Be cautious with bottom lashes. Heavy black mascara on the lower lashes can cast shadows that drag the eye down. Consider using a brown mascara on the bottom, or skipping it entirely in favor of a clean, fresh look. If you do apply it, focus on lengthening rather than volumizing to avoid a clumpy, heavy look.
Eyebrow Shaping for a Lifted Effect
Your brows act as a frame for your eyes. If the tail of your eyebrow extends too far down or droops, it mimics the downturned shape of the eye and reinforces the sleepy look.
Aim for a brow shape with a slight arch. The lift in the brow helps balance the dip in the eye. Crucially, keep the tail of the brow clean and slightly shorter. It should not dip below the starting point of the brow. Plucking stray hairs underneath the outer half of the brow opens up more lid space, giving you more room to create that lifted eyeshadow effect.
Highlighting & Contouring Around the Eyes
Light brings features forward; shadow pushes them back. Use a shimmery champagne or pearl highlighter on the inner corner of the eye (the tear duct). This brings immediate attention to the center of the face and away from the drooping outer corner.
You can also apply a matte highlighter or a light concealer directly under the arch of your brow. This emphasizes the highest point of your face structure.
Avoid bringing dark contour shades too close to the outer eye area. Instead, keep the area under the eye bright with concealer to maintain that “pulled up” aesthetic.
Finishing Touches
If you want to add drama with false lashes, avoid full, round strips. These are often longest in the middle, which creates a “doll eye” look that can look heavy on downturned eyes.
Instead, opt for “half lashes” or “demi wisps” that flare out at the ends. These lashes are shorter on the inside and longer on the outside, creating a permanent cat-eye effect. Place them slightly inward from the outer corner so they don’t drag the eye down.
Finally, lock your look in place with a setting spray. You don’t want your carefully placed upward shadows melting downward after a few hours.
Conclusion
Having downturned eyes gives you a naturally romantic and soulful canvas to work with. You don’t need to fix a “flaw,” but knowing how to manipulate light and lines allows you to take control of your look.
By swapping your eyeliner angle, changing how you blend your shadow, and paying attention to your brows, you can create an instant, non-surgical lift. Makeup is ultimately about experimentation. Try these techniques, play with different angles, and see how a few millimeters of difference can change your entire expression.