We’ve all been there: staring at a makeup tutorial, wondering how the artist transformed a few swipes of powder into a masterpiece, while our own attempts look more like we lost a fight with a raccoon. Eye makeup can feel intimidating. With so many brushes, palettes, and techniques, knowing where to start often feels impossible.
The good news is that you don’t need a professional kit or years of art school to make your eyes pop. The secret to great makeup isn’t about complex techniques; it’s about understanding the basics and building confidence one step at a time.
This guide strips away the confusion and focuses on the essentials. We’re going to walk through a simple, foolproof routine designed specifically for beginners. By the end, you’ll have the skills to create a fresh, polished look that enhances your natural beauty without the stress.
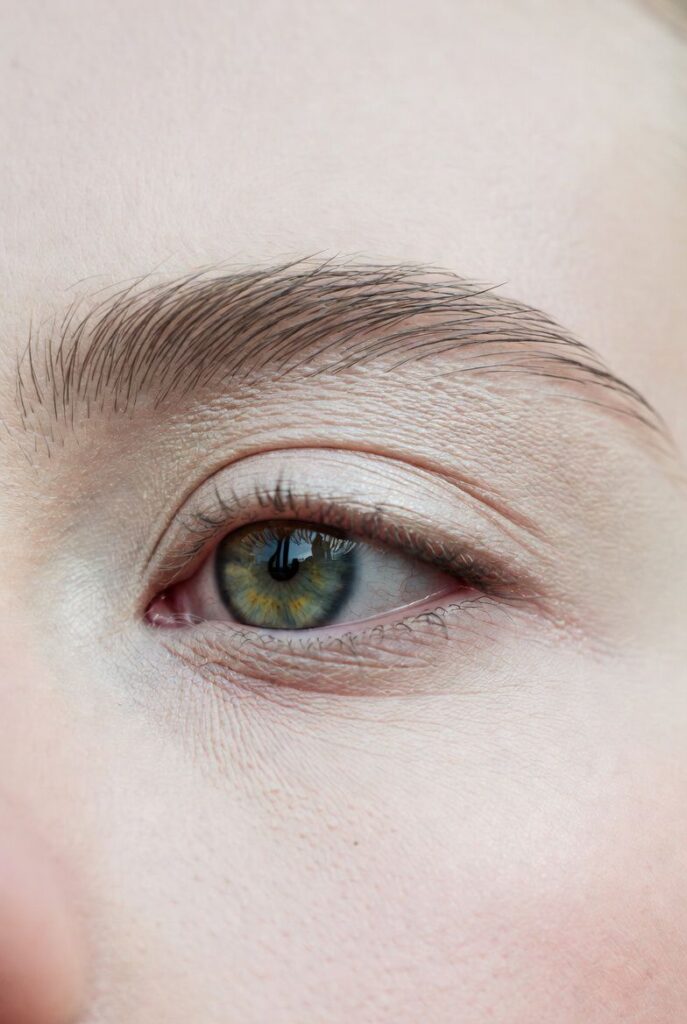
1. Start with Clean, Prepped Eyes
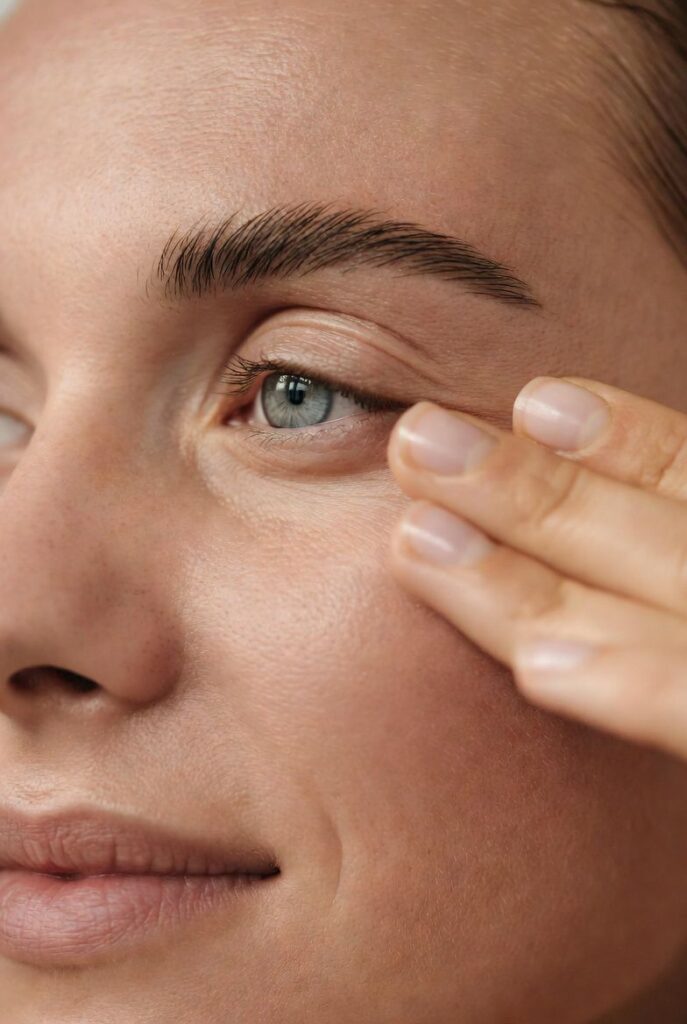
Great makeup starts with skin care. Before you even touch a brush, you need a clean canvas. Any oil or leftover mascara from yesterday will make your new makeup smudge or apply unevenly.
Start by gently cleansing your eyelids to remove natural oils and residue. Once your skin is clean, pat it dry. If you have dry skin around your eyes, apply a tiny amount of lightweight eye cream. Give it a minute or two to sink in completely—if it’s still wet, your eyeshadow might crease.
Finally, the most important prep step: priming. You can buy a dedicated eye primer, but a dab of concealer works just as well. Apply a thin layer over your entire eyelid and set it with a translucent powder. This creates a smooth base that grabs onto the eyeshadow pigment and keeps it in place all day.
2. Understand Basic Eye Makeup Tools
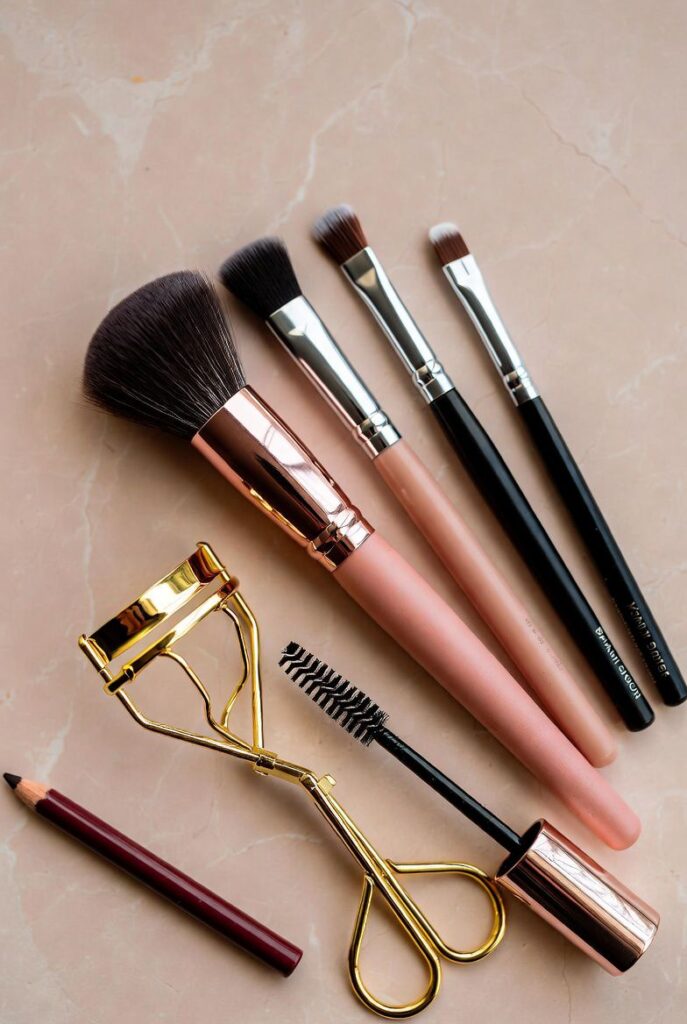
You don’t need a 20-piece brush set. In fact, having too many tools can be overwhelming. To get started, you only need a few key items:
- Eyeshadow Brushes: You really only need three. A flat shader brush packs color onto the lid. A fluffy blending brush softens harsh lines (this is your best friend!). An angled brush is great for applying eyeliner or defining eyebrows.
- Eyelash Curler: This tool might look like a medieval torture device, but it’s essential for opening up the eyes.
- Eyeliner: Pencils are the most forgiving for beginners. Save the liquid liners for when you have a steadier hand.
- Mascara Wand: This usually comes with your mascara tube, but knowing how to use it makes all the difference.
3. Choose Beginner-Friendly Eyeshadow Colors
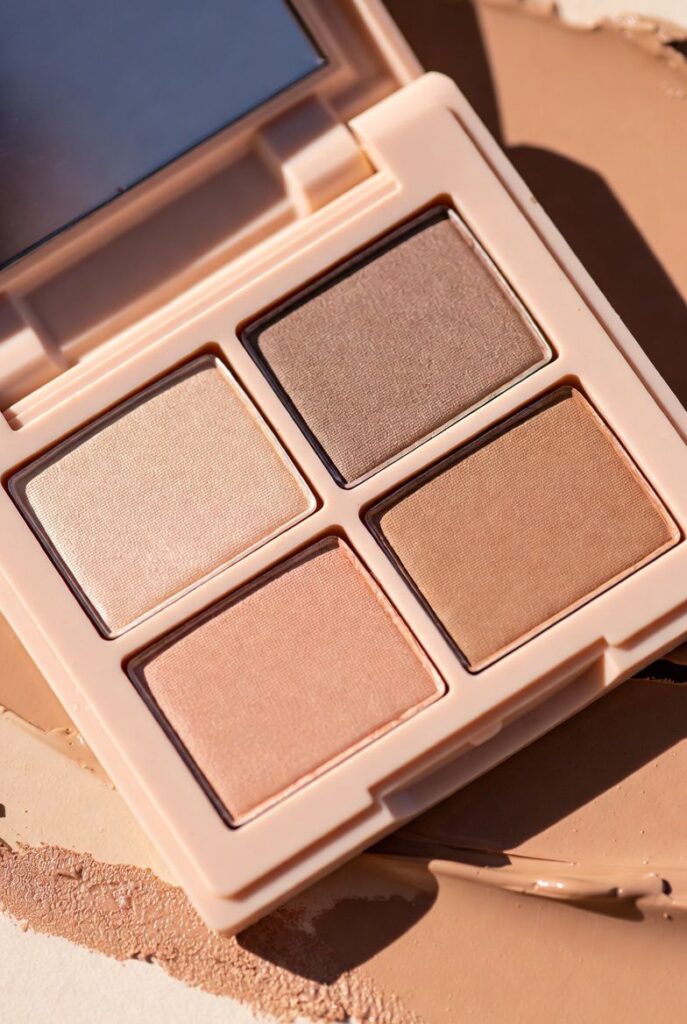
When you open a large palette, it’s tempting to dive into the bright blues or dark blacks. For your first few attempts, resist that urge. Dark colors are harder to blend and show mistakes more easily.
Stick to neutral shades like beige, taupe, soft brown, or cream. These colors mimic natural shadows and highlights, making them much easier to work with. Also, opt for matte finishes over shimmers initially. Matte shadows are excellent for defining the shape of the eye without drawing attention to texture or uneven application.
Choosing for your skin tone:
- Fair skin: Look for soft champagnes and light taupes.
- Medium skin: Warm bronzes, coppers, and soft browns work beautifully.
- Dark skin: Rich chocolates, deep terracottas, and gold tones look stunning.
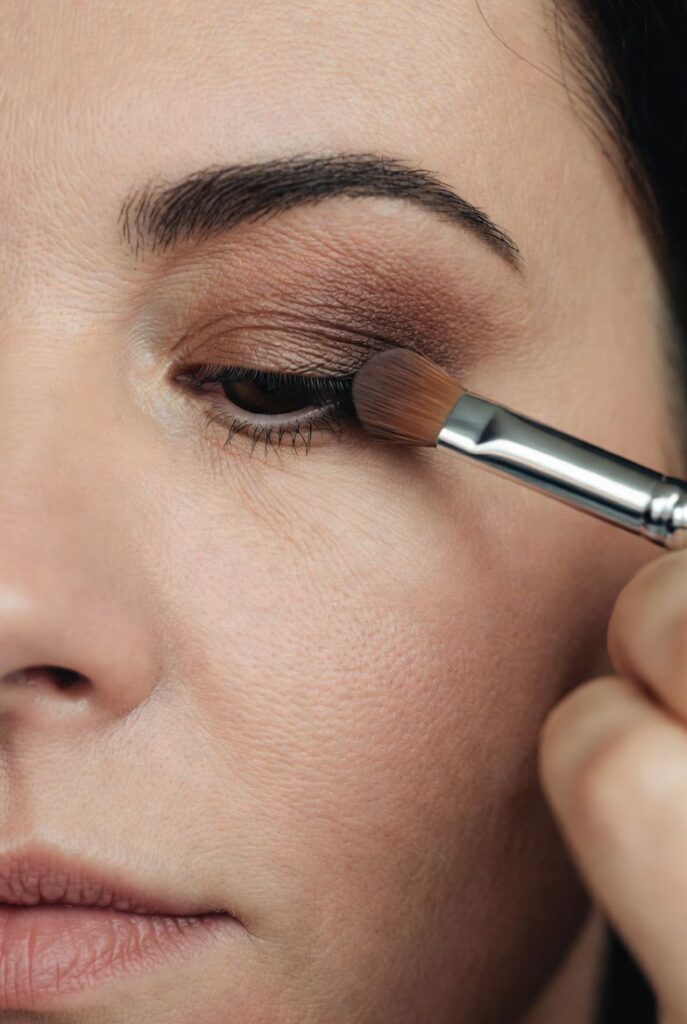
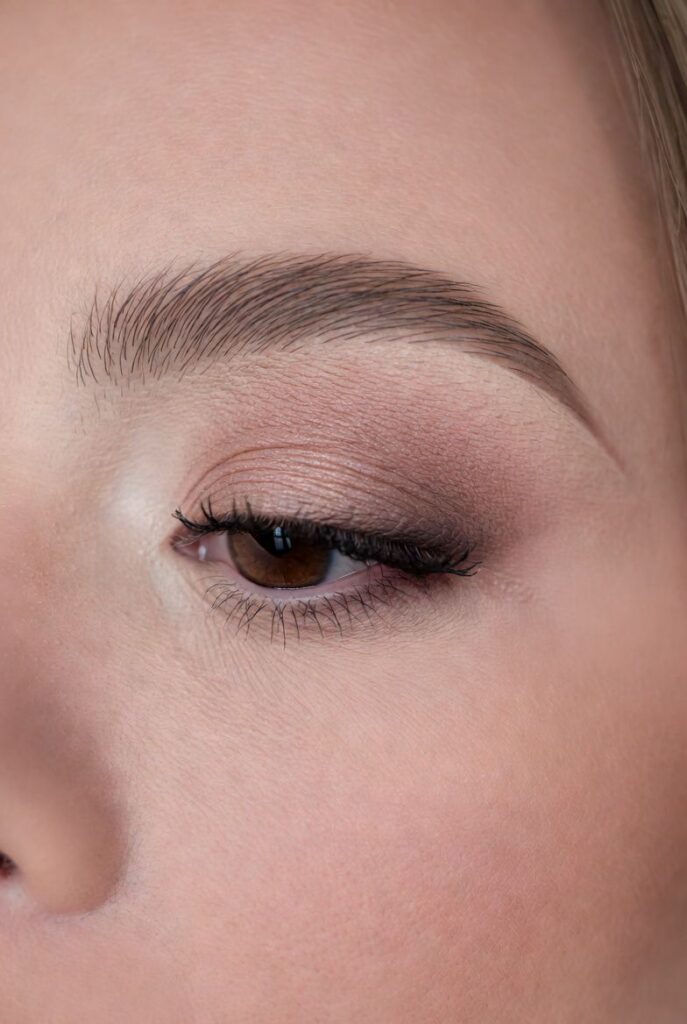
4. Apply a Base Eyeshadow Shade
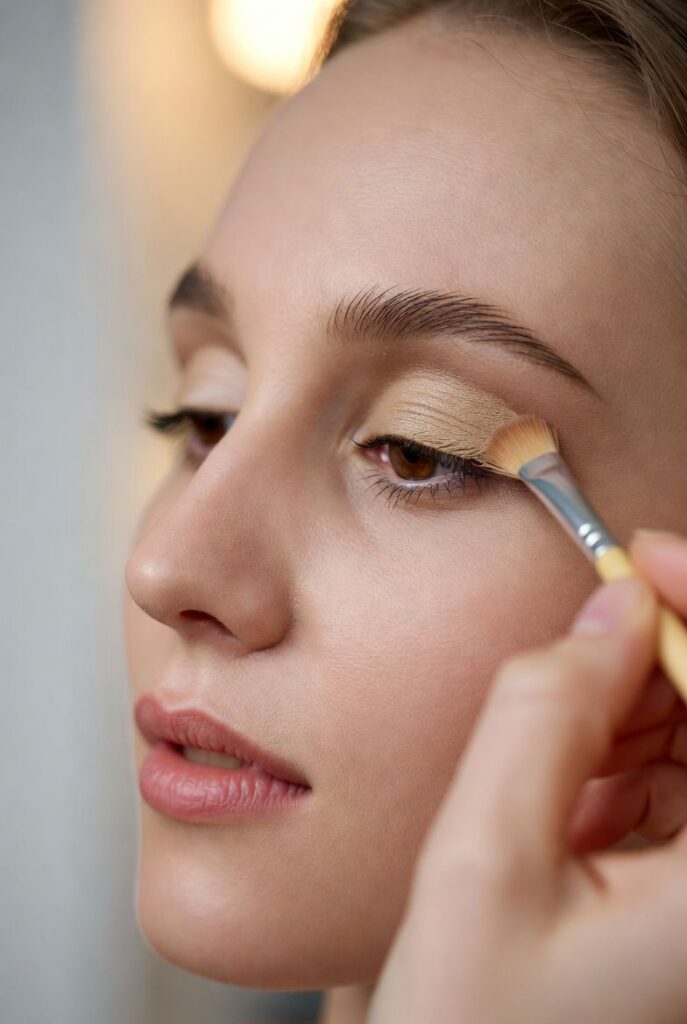
Now, let’s put color on the lid. Take your flat shader brush and pick a light neutral shade—something close to your skin tone or slightly lighter.
Tap off the excess powder (this prevents it from falling onto your cheeks) and sweep the color across your entire eyelid. You want an even wash of color from your lash line up to your crease. This brightens the eye area and helps the other colors blend more easily later on.
5. Add Soft Definition to the Crease
To add dimension, you need to create a shadow. This stops your eyes from looking flat.
Switch to your fluffy blending brush and pick a matte shade that is just slightly darker than your skin tone. Look straight into the mirror to find your crease—the fold where your eyelid meets your brow bone. If you have hooded eyes, look for the area just above the actual fold.
Place the brush in the crease and move it back and forth in “windshield-wiper” motions. Keep the pressure light. You aren’t trying to create a dark line; you just want a soft shadow that defines the eye shape.
6. Highlight the Inner Corner & Brow Bone
This step is the “wake-up call” for your face. Highlighting specific areas catches the light and makes you look more rested.
Use a small brush or even your pinky finger to dab a tiny amount of a light, shimmery shade (or a light matte shade) right into the inner corner of your eye, near the tear duct. You can also lightly sweep a bit of this color right under the arch of your eyebrow. This lifts the brow visually and brightens the whole look without being overpowering.
7. Apply Eyeliner the Easy Way
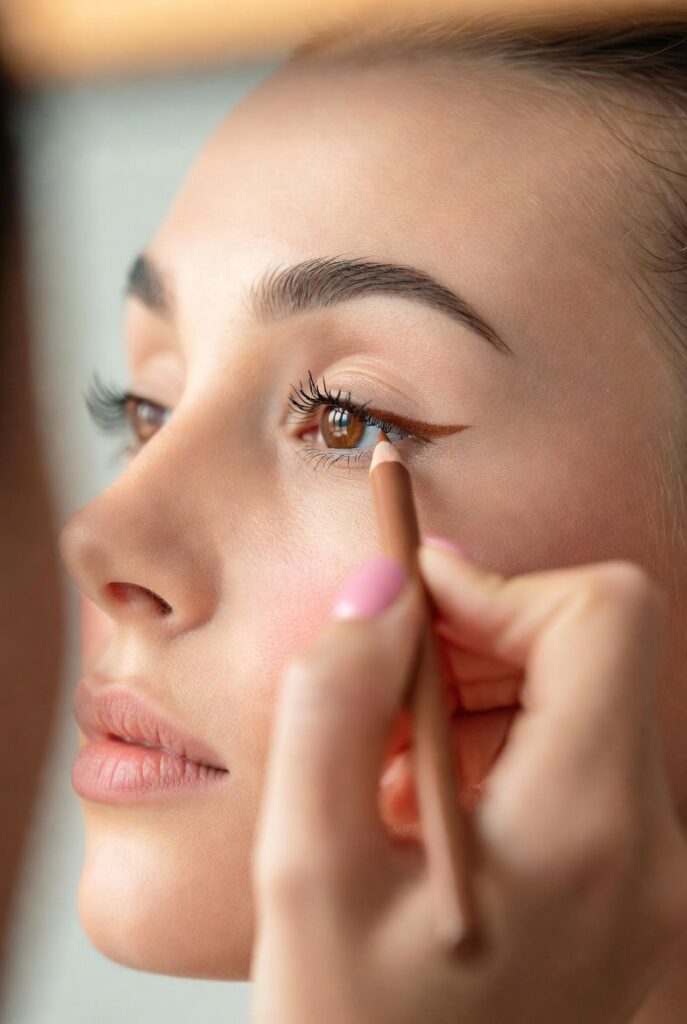
Eyeliner is often the step where beginners panic, but it doesn’t have to be perfect. Grab your pencil liner in brown or black.
Instead of trying to draw a straight line across your lid, try “tightlining.” Gently lift your eyelid and run the pencil along the upper water line (the rim of your eyelid right under your lashes). This makes your lashes look thicker at the root.
If you want liner on top, draw short, small dashes along your lash line and then smudge them together with your angled brush. It’s softer, more forgiving, and looks very natural. Skip the winged liner for now—master the lash line first!
8. Curl Lashes for Instant Lift
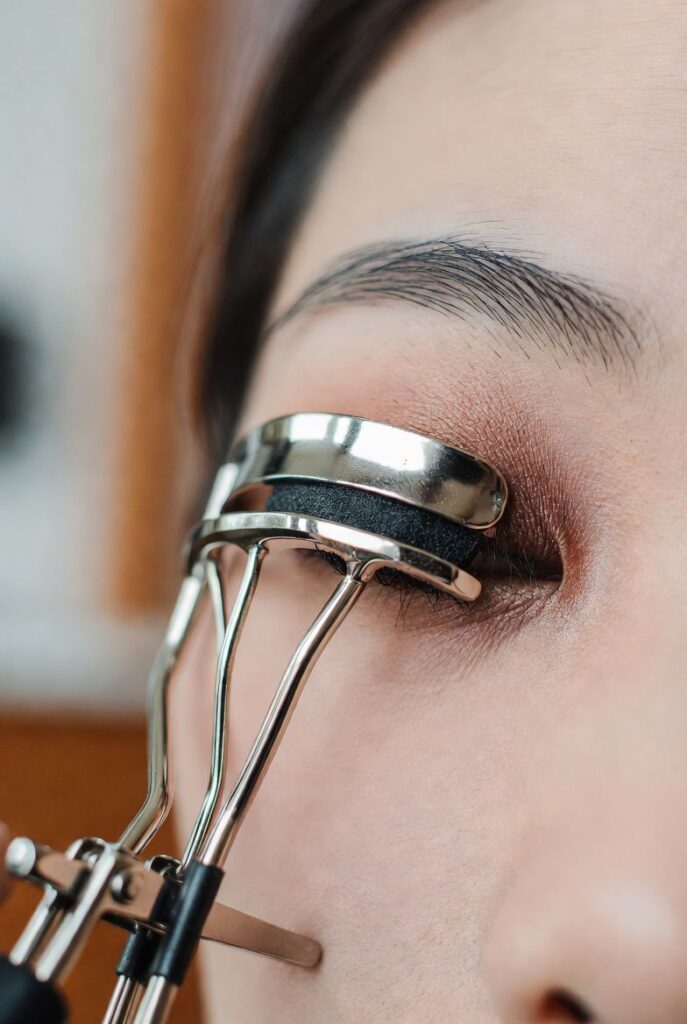
Curling your lashes is the quickest way to look wide-eyed and alert. Open the curler and place it over your upper lashes, getting as close to the root as comfortable without pinching your eyelid.
Squeeze gently and hold for about five seconds. Release, move the curler halfway up the lashes, and squeeze again gently. This creates a natural curve rather than a harsh “L” crimp.
9. Apply Mascara for Natural Volume

Pull the wand out of the tube (don’t pump it, as this pushes air in and dries out the formula). Wipe any excess product off the tip of the wand onto a tissue.
Look down into a mirror and place the wand at the very base of your lashes. Wiggle the wand left and right as you pull it upward toward the tips. This wiggling motion separates the lashes and prevents clumps. One coat is usually enough for a natural daytime look.
10. Fill in Brows Lightly
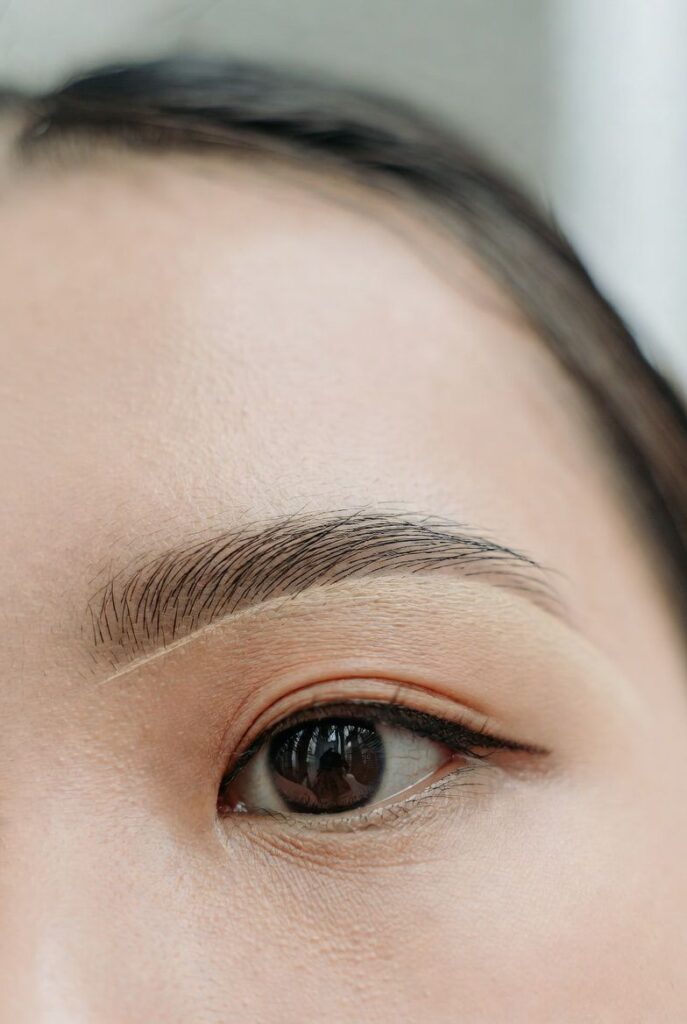
Your eyebrows frame your eyes, so giving them a little love finishes the look. You don’t need to draw on entirely new brows; just fill in the sparse areas.
Using a brow pencil or powder that matches your hair color, use short, light strokes to mimic natural hairs. Follow your natural shape. Once you’re done, use a spoolie (a clean mascara brush) to comb through your brows. This blends the product and ensures there are no harsh lines.
11. Clean Up & Final Touches
Step back and look at your work. Did some eyeshadow fall onto your cheeks? Use a clean, fluffy brush to whisk it away. If you have mascara smudges, wait for them to dry completely, then flick them off with a dry cotton swab (wet ones will smear it).
Take a clean blending brush and go over the edges of your eyeshadow one last time to make sure everything looks seamless. If you want, you can set your makeup with a light mist of setting spray to help it last longer.
12. Common Eye Makeup Mistakes Beginners Should Avoid
Learning is a process, but knowing what not to do can speed it up. Here are four common pitfalls:
- Using too much product: It is always easier to add more color than to take it away. Start with a tiny amount on your brush and build it up slowly.
- Skipping blending: If you can see exactly where one color starts and another stops, you haven’t blended enough. Blending is the key to a professional look.
- Choosing overly dark colors: Black eyeshadow is notoriously difficult to work with. Stick to browns and greys until you are comfortable with your brushes.
- Applying mascara before eyeshadow: If you put mascara on first, your lashes become stiff and get in the way when you try to apply shadow. Always save mascara for the end.
13. Simple 5-Minute Eye Makeup Routine for Beginners
Running late for work or school? You don’t need to do all the steps above every day. Here is a cheat sheet for a rush-hour routine:
- Conceal: Dab a little concealer on your lids to even out the tone.
- Wash of Color: Swipe a bronzer or a single brown shadow across the lid and crease.
- Curl & Coat: Curl lashes and apply one coat of mascara.
- Brows: Quickly brush through your brows with a tinted brow gel.
Your Journey to Confidence Starts Here
Makeup is supposed to be fun, not a chore. If your eyeliner is a little crooked today or your blending isn’t perfect, that is okay. It washes off at the end of the day, and you get a fresh start tomorrow.
The more you practice these basic steps, the more comfortable you will feel. Eventually, you’ll naturally start experimenting with bolder colors and different techniques. So grab your mirror, take a deep breath, and start practicing. You’ve got this!

